
by Kathryn Brenne


Suitable hemming techniques for sheers include a narrow double-folded hem, serger-rolled hem, machine-rolled hem, hand-rolled hem, hand-stitched hem and a baby narrow hem.
To make a double folded hem, first decide on the width of the hem allowance. Fine, floaty garments can have a narrow 1/4" to 1/2" hem allowance whereas you might want a wider 1 1/2" to 2" hem allowance on a pair of pants, a longer top or kimono-style jacket to give the hem some weight. (I like to cut out my garment with plenty of length. This allows me to finish the garment, try it on and then decide on the finished hem length.)
Next, mark the finished hem length, double the finished hem allowance and cut off any excess fabric. Mark the width of the hem allowance and press the doubled hem allowance up along this line. Fold over again along the finished hem line, creating a double fold. Press and finish with a row of machine or hand stitching.
If you opt for a hand stitched hem use this technique, running the needle along the folded edge and picking up just a thread of the garment.
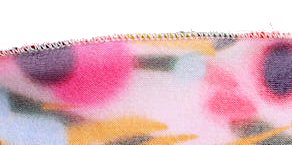
serger rolled edge
A serger rolled hem finish is suitable for scarves, edges of ruffes and garments. Test the technique on a sample. Sometimes a serger rolled hem will pull right off of a garment. Pull on the edge of the sample to see how strong it is. Most sergers will have a rolled hem lever or pin that needs to be moved in order to do a rolled hem. Adjust the stitch length to 1 and the tension settings as per your instruction manual. My serger has the needle tension set at 4, the upper looper at 4.5 and the lower looper at 6.5. The blade should be set to trim at a narrow width. Don't set the blade width too narrow or there will be very little fabric to roll under, which can cause the stitching to pull off of the edge.
If your fabric leaves a lot of whiskers, try serging over 1" strips of water soluble stabilizer. The stabilizer will get rolled into the hem, sealing in any whiskers. After the hem is finished pull away the remainder of the stabilizer and press lightly. Most of the stabilizer will disappear with pressing and any remainder will dissolve during the first cleaning.
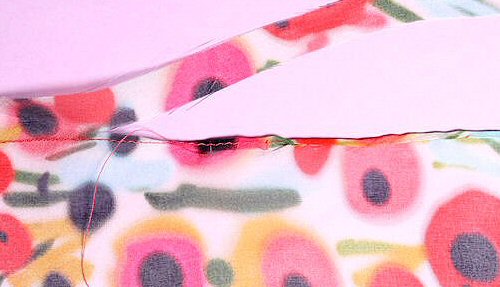
hand-rolled hem
A hand-rolled hem is a perfect way to finish the edge of a scarf. Machine-stitch 1/2" in from the cut edge of the fabric. Trim close to the stitching, working a few inches at a time as you hand roll the edge. Trimming too much may allow the fabric to ravel before it is rolled. Bring the needle up just past the machine stitching. Pick up a thread 1/4" directly below where you came up. Move forward 1/4" and repeat. After taking 3 or 4 stitches, gently pull up the thread. As you do so the edge will roll. Do not press a rolled edge flat. It should remain slightly puffed.
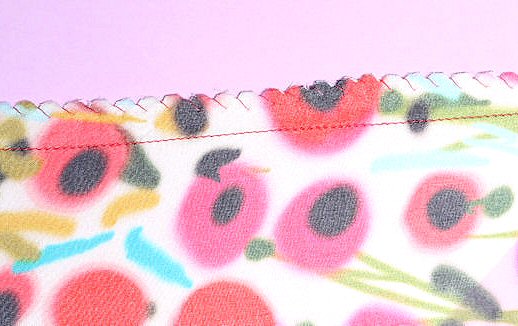
pinked/hand overcast seam finish
finished hand-stitched hem
A hand stitched hem was used on the sample blouse, the silk charmeuse and chiffon hemmed together as one. For this technique, first thread trace the hemline using 100 weight silk thread. Working from the right side of the fabric tack the two layers together along the marked hemline. To tack, bring your needle through to the right side of the fabric, take a tiny one thread backstitch through both layers. Bring the needle up 3/8" to the left and repeat. Tacking the hemline will be invisible but it prevents the chiffon from dropping below the charmeuse once the hem is folded up.
A hand overcast edge is a soft finish for a seam allowance. Although a straight cut edge can be hand overcast, it is difficult to keep the stitches an equal distance and depth to make them look neat. Instead, try pinking the edge with a pair of pinking or scalloped shears or a rotary pinking blade. Hand overcast taking a stitch at the base of each peak. As you work the thread will fall into the valley between two peaks.
Fold the hem up along the marked hemline and press. Hemstitch the hem allowance to the silk charmeuse. The stitching should not be visible from the right side of the garment.
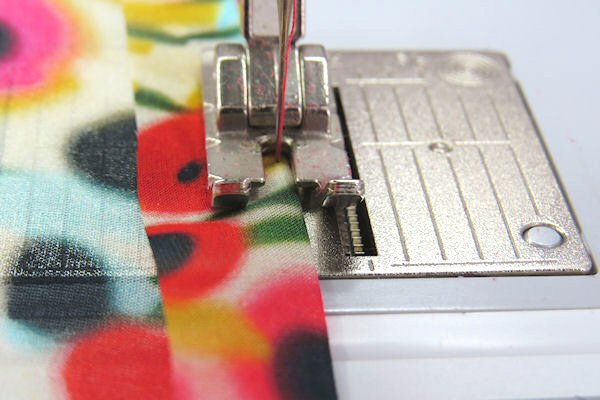
baby narrow hem stitching close to fold
A baby narrow hem is suitable for a fine finish on the edges of garments and scarves. Press up the hem allowance leaving the garment 1/8" longer than the finished length. Using an edge stitching foot and the needle moved two positions to the left, machine stitch close to the folded edge.
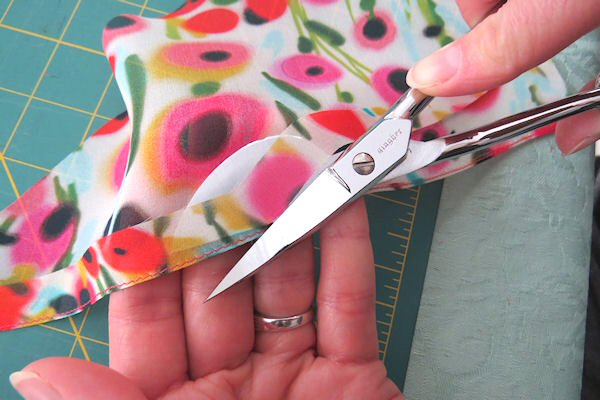
use duck billed applique scissors to trim close to stitching
Trim close to stitching. Duck billed applique scissors work well for trimming and prevent you from accidentally cutting the underlayer.
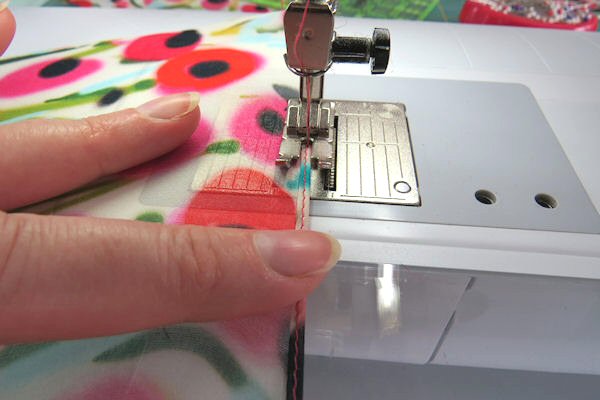
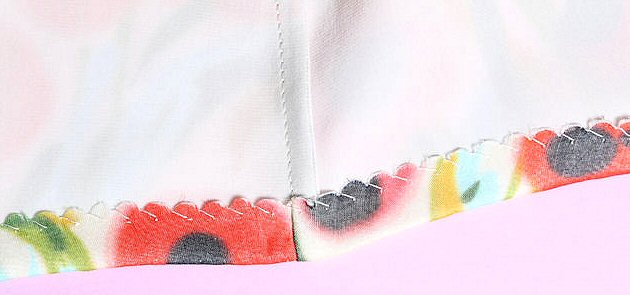
baby narrow hem folded over and stitched a second time
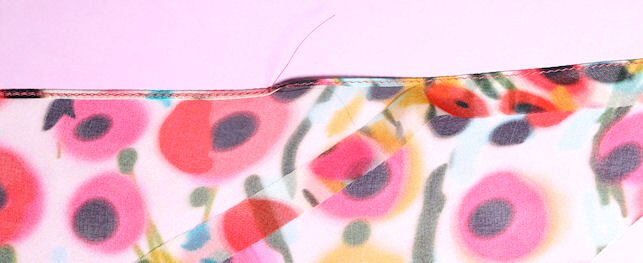
baby narrow hem
Roll the edge over and stitch again using the same settings.
A variety of sewing machine feet will roll an edge to a narrow width using a straight or zig zag stitch. A zig zag stitch will give more of a picot edge finish. To make the edge easier to handle spray with a bit of spray starch. Fold the edge in a scant 1/8" twice. Take four or five stitches. Lift the presser foot and feed the folded edge into the spiral roll of the foot. Lower the presser foot and continue stitching. Finish each side separately leaving long thread tails to neaten up the corners by hand.