
by Kathryn Brenne
- Sewing Workshop
Bells & Whistles Shirt - Vogue 1248
Shirt and Skirt - Cutting Line Designs
The Director’s Cut - Design and Sew
#329 View A


A sleeve placket is often found on men's long sleeved shirts and women's tailored shirts. It is not difficult to sew but can easily be incorrectly positioned and sewn backwards. Follow these pictorial steps to get it right.
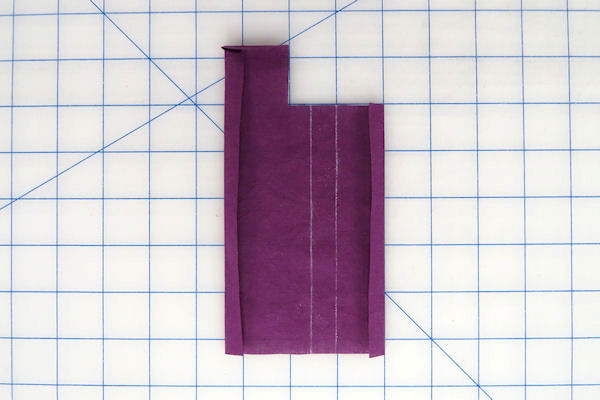
Chalk the stitching lines onto the wrong side of the placket.
Fold under the outer edges of the placket 1/4".
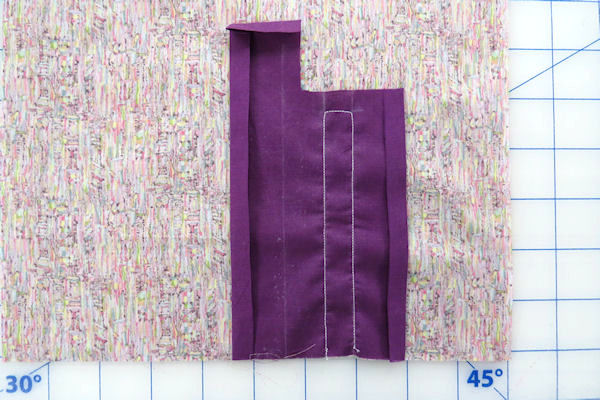
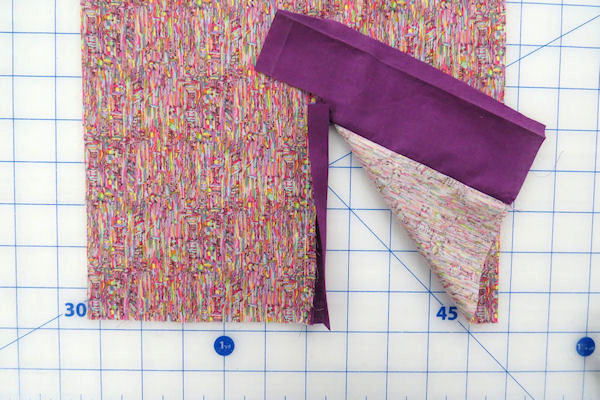
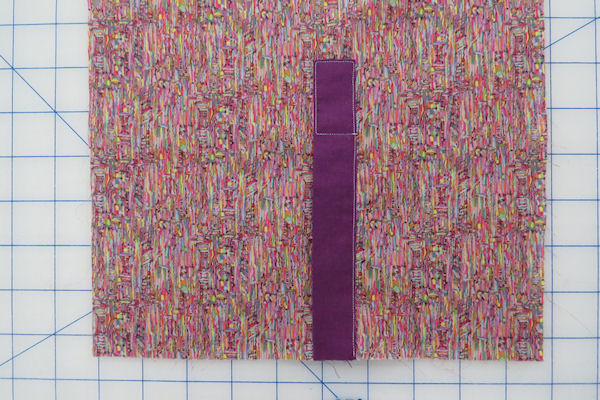
Take care with this step. Pin the right side of the placket against the wrong side of the sleeve with the wide side of the placket facing towards the front of the sleeve. Stitch along the chalked stitching lines.
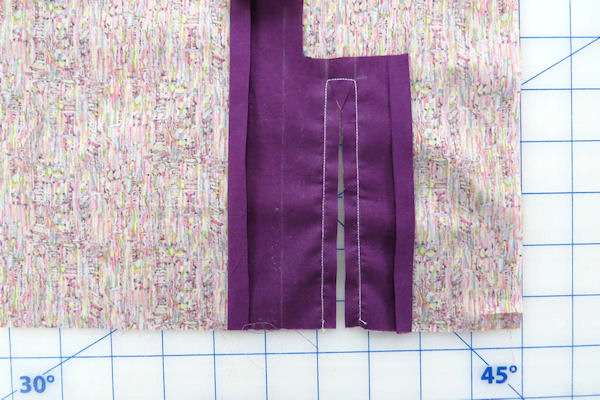
Use small sharp scissors to cut through all layers and V into the corners.
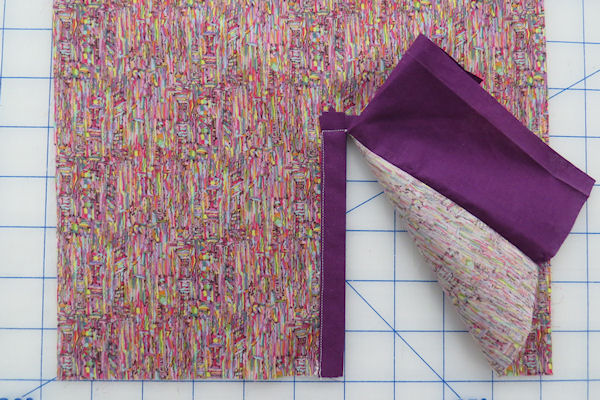
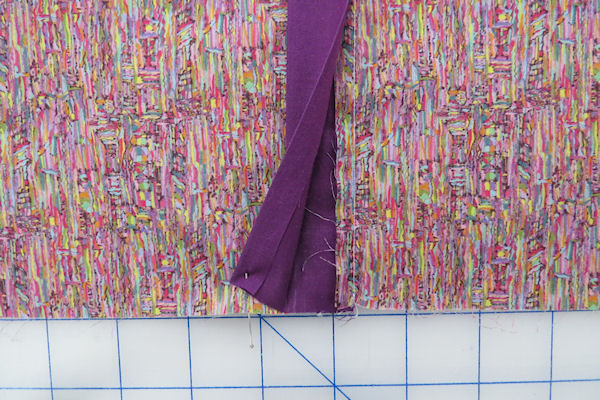
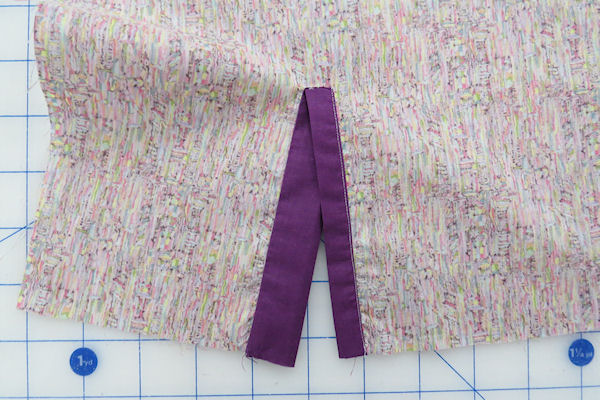
Turn the placket through to the right side. Fold short edge of placket over stitching line. Press the narrow underlap portion of the placket so that the folded edge covers the previous stitching line. Edge stitch along the folded edge and across the top of the underplacket.
Bring the long, folded edge of the upper placket over to cover the seam. Edge stitch close to the fold, across the top of the placket, down the short side of the extension and across the placket catching in all layers. An optional X can be stitched onto the extension.
Fold long extension over stitching.
Wrong side of sleeve
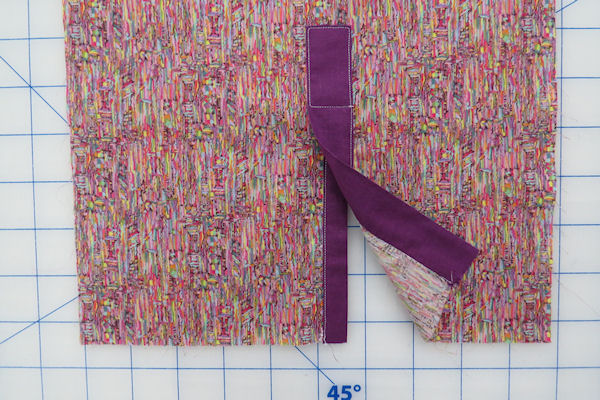
Edge stitch along fold, across extension and around the top of the extension creating a box.
Finished placket