
by Kathryn Brenne
Sleeve Heads


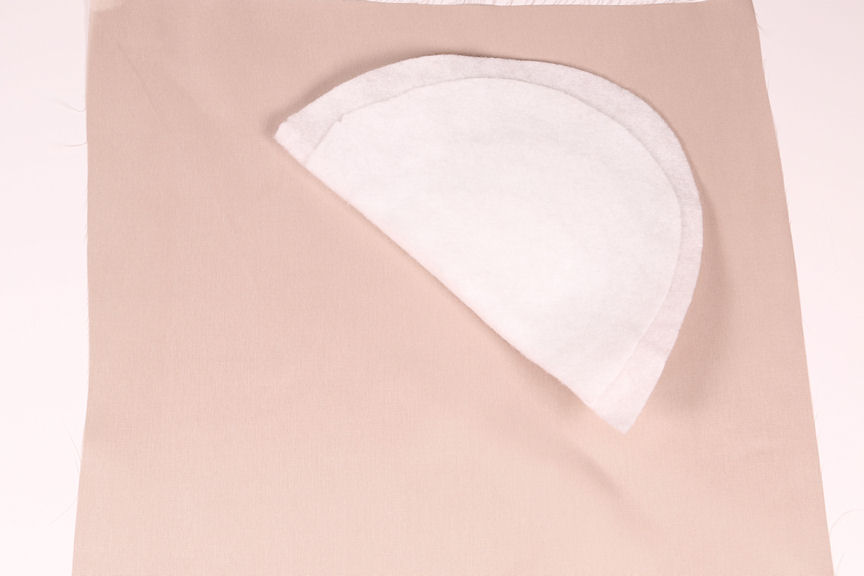
Covered shoulder pads add a nice detail to unlined garments. To cover your own shoulder pads use light weight lining fabric. Start with a piece of fabric approximately 12" square. Place the shoulder pad on the square with the wrong side of the pad facing up and the straight edge sitting diagonally across the square.
Start with a square of lining
Baste, machine stitch, serge
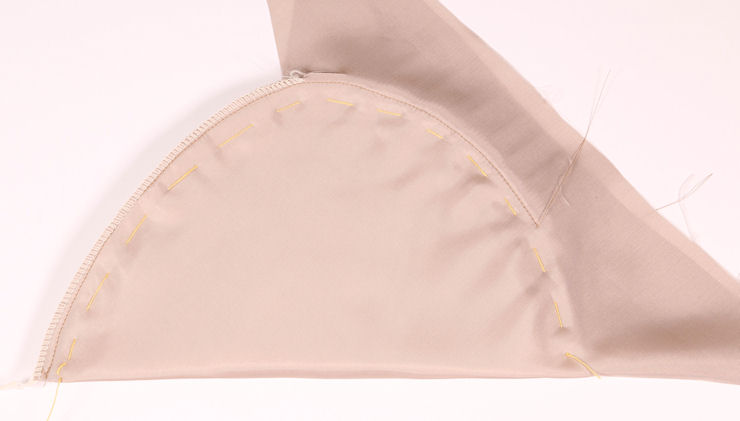
Pull the lining over the shoulder pad snugly and pin. The lining on the inside of the shoulder pad should be slightly tighter than the outer side encouraging it to roll slightly towards the inside taking the shape of the pad. Baste by hand around the outer edge of the pad through all layers.
Shape covered shoulderpad over tailor's ham
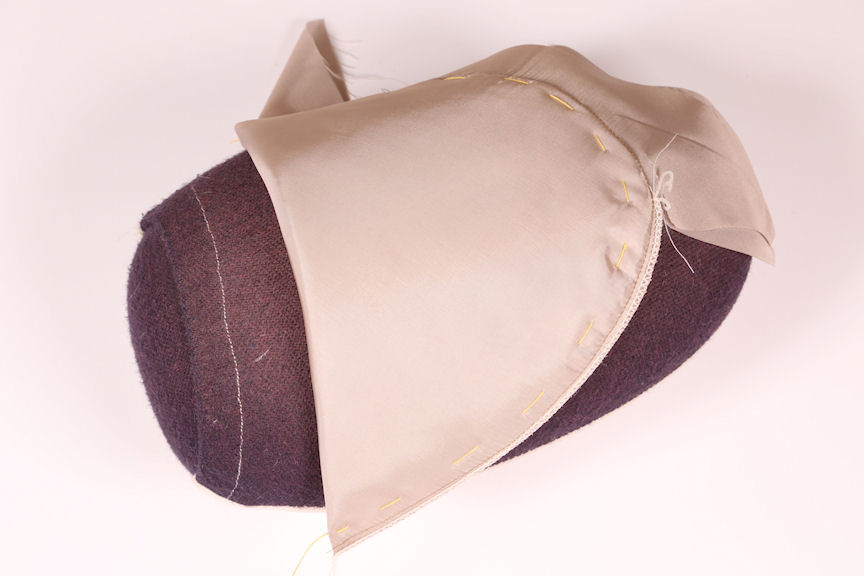
If you are using a dark colored lining fabric, you will be able to feel the edge of the pad through the lining and stitch close to the edge. Machine stitch through all layers approximately 1/8" in from the outer edge of the pad. Serge or zig zag next to the machine stitching, trimming away the excess lining fabric. Place the pad over a tailor's ham, shape using an iron and steam.
Shoulder pads can be sewn in place by hand. The edge of the shoulder pad should sit into the sleeve aligned with the seam allowance, which has been turned towards the sleeve. Attach the shoulder pad to the garment by hand with a loose running stitch along the straight edge. The pad can also be tacked to the shoulder seam allowances.
Rectangle of lambswool
Folded, shaped sleeve head
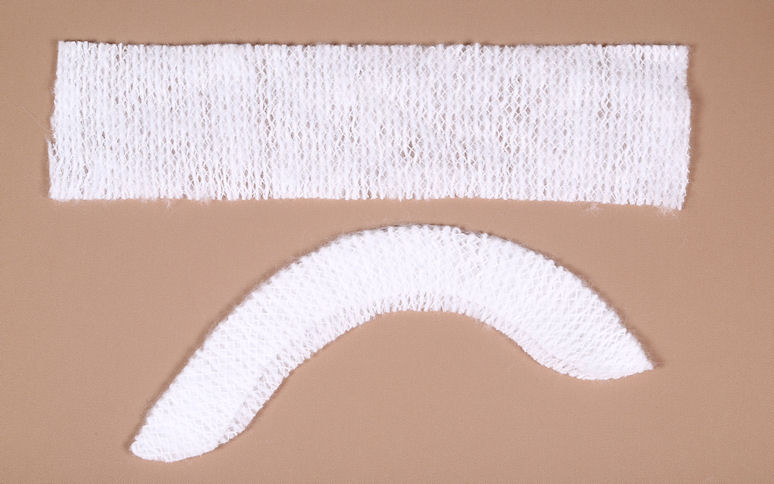
Sleeve heads are used in the sleeve cap of a garment to help support the sleeve and prevent the ridge of the seam allowance, which is turned towards the sleeve, from showing through. To make your own sleeve heads use a rectangle of lambswool, available from tailor supply shops,
Fold the lambswool over with one side longer than the other. Cut the ends of the rectangle into a curved shape. Steam the sleeve head into a curved shape similar to a sleeve cap. The front of the sleeve head should be slightly shorter than the back.
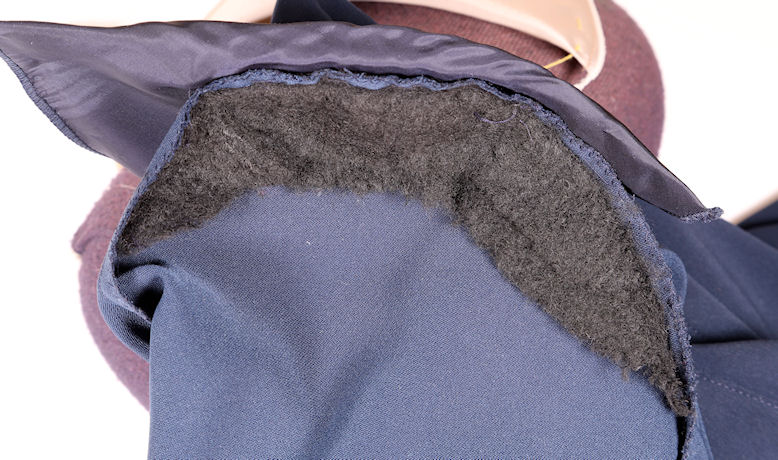
Shoulder pad, seam allowance, sleeve
head sitting in sleeve cap
Pin the sleeve head into the sleeve cap. The folded edge of the sleeve head should sit along the stitching line, sandwiched between the sleeve fabric and seam allowance, with the wider side of the sleeve head sitting against the sleeve fabric. Sew the sleeve head to the seam allowance with a long whipstitch. The folded edge of the sleeve head should be sewn as close to the stitching line as possible. If you sew it too far into the sleeve seam allowance, the sleeve cap will fold back on itself when the seam is turned towards the sleeve.