
by Kathryn Brenne


For casual garments a cover stitched or twin needle hem works well for Ponte garments.
Apply a strip of bias knit fusible interfacing to the hem allowance to make the crosswise stretch of the fabric easier to control. Coverstitch the hem using wooly nylon in the looper. A twin needle can only be used with a straight stitch. The bobbin will automatically do a zig zag, giving the hem some stretch.
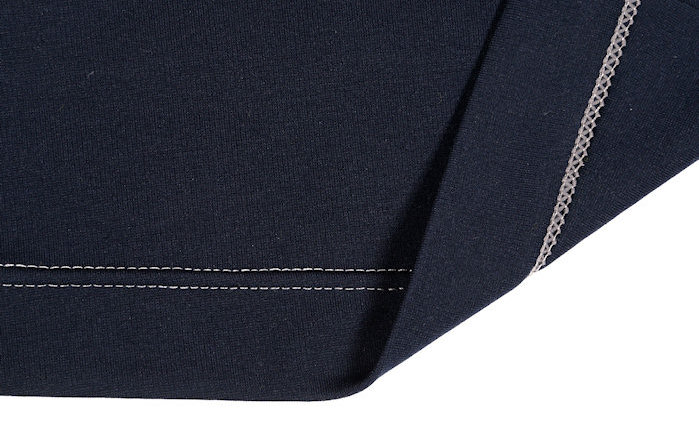
cover stitched hem using
wooly nylon in the looper
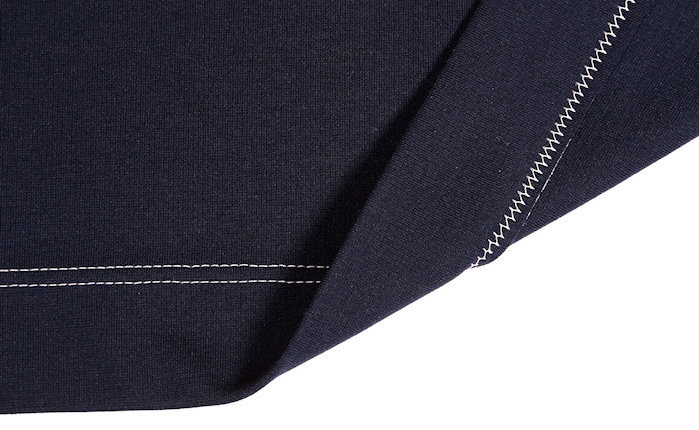
twin needle hem
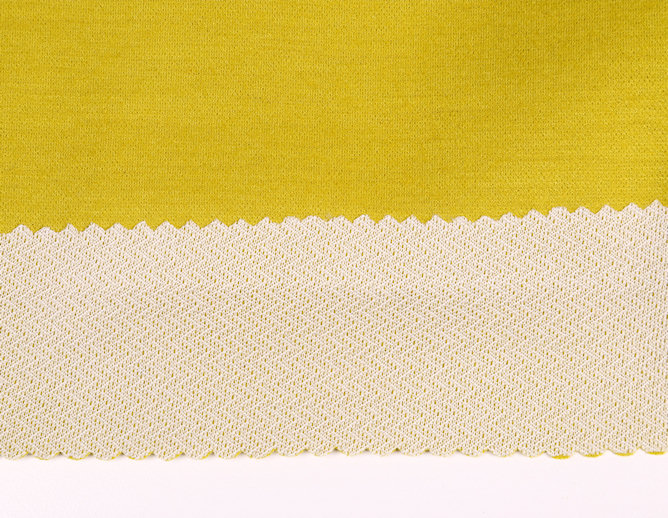
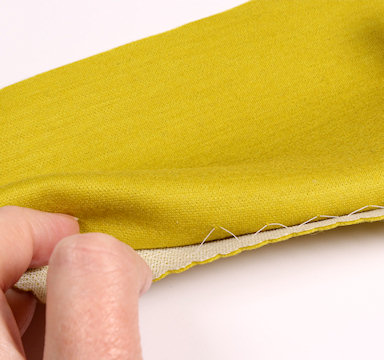
interfaced hem with one edge pinked
For a finer finish on dressier garments, try finishing the hem by hand. Cut a strip of bias knit fusible interfacing the width of the hem allowance plus 1/2". Pink the edge that will sit into the garment.
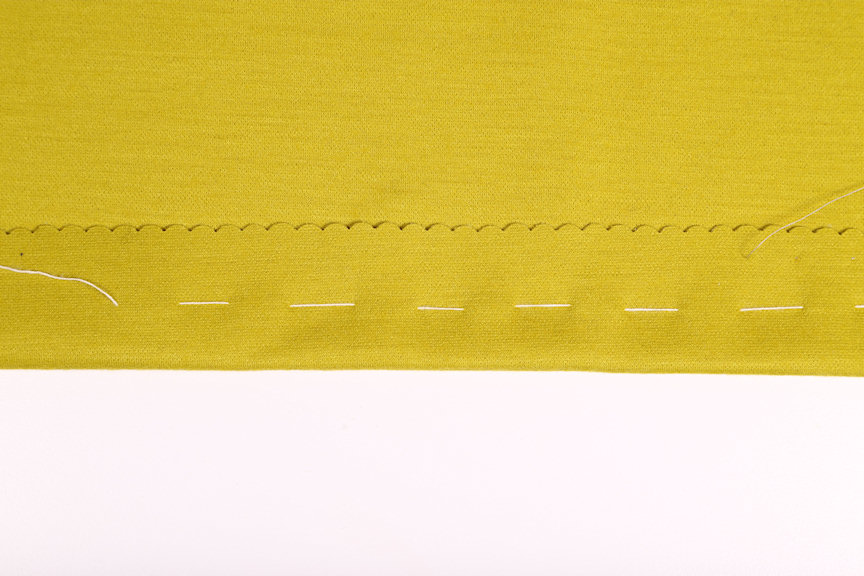
baste hem by hand
Having 1/2" of the interfacing sit into the garment will give a soft rolled hem, which is attractive on a fine garment. Grade any seam allowances in the hem to reduce bulk. Lightly steam. Hand baste the hem in place positioning stitches 1/2" away from the folded edge.
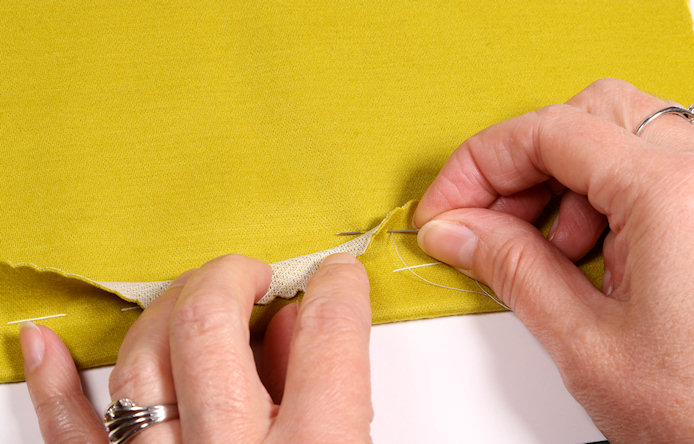
work from right side of the fabric,
pick up a bit of the garment
come through to right side again
Working from the right side of the hem allowance, take a stitch through the hem allowance, pick up a tiny stitch of the garment and come back through the hem allowance.
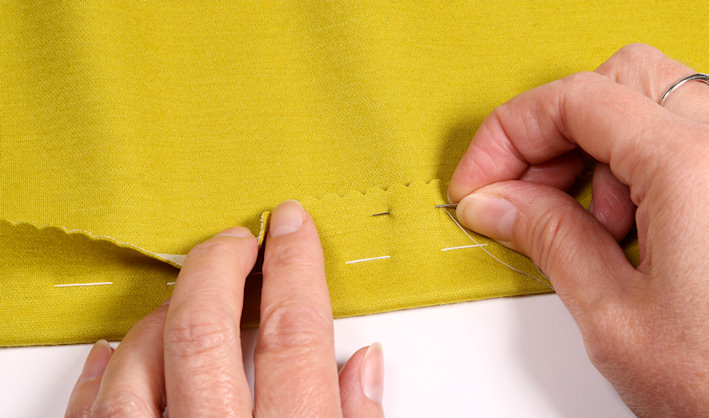
leave a small loop on the fabric
Move the needle forward a thread and repeat. Leave some slack as you move the needle forward on the hem allowance. This slack will allow the hem to ‘float' rather than pull on the stitching, which will show from the right side of the garment.
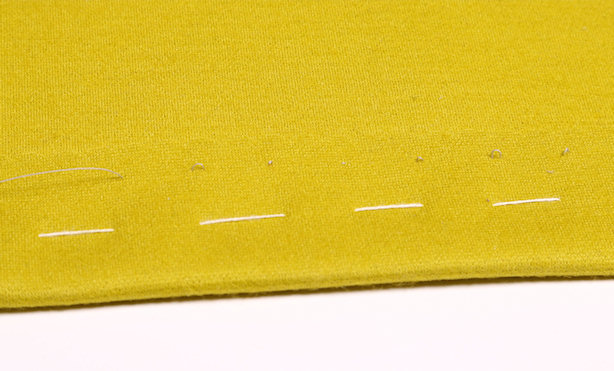
Stitches should be about 3/8" apart.
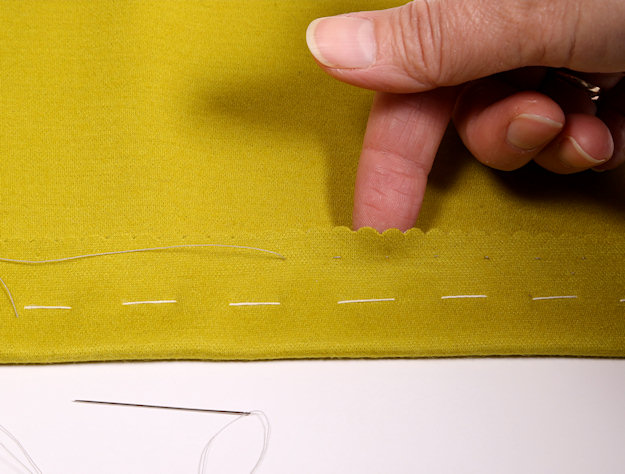
run finger under hem allowance to give
some slack to the stitches and prevent
them from pulling on the garment
close up of loose stitches
After the hem is finished, run your finger under the edge of the seam allowance to loosen the slack that was given when stitching.