
by Kathryn Brenne


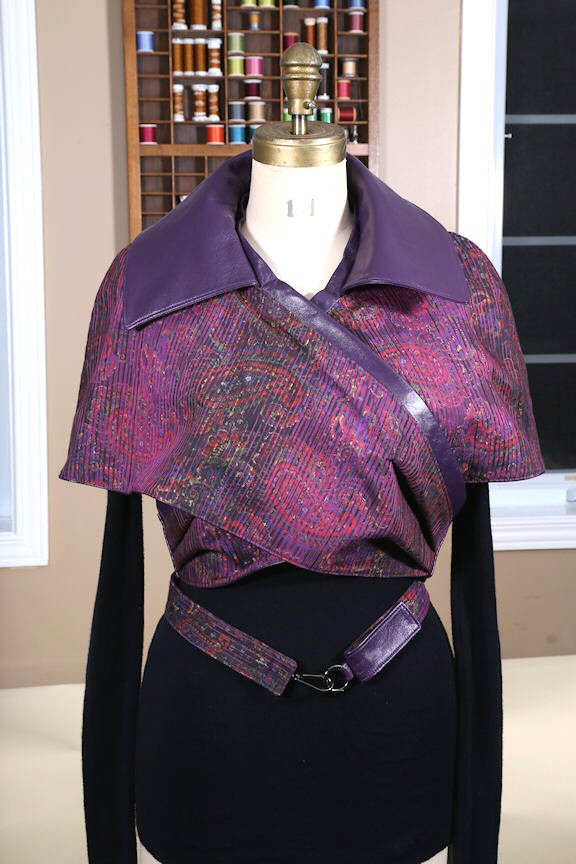
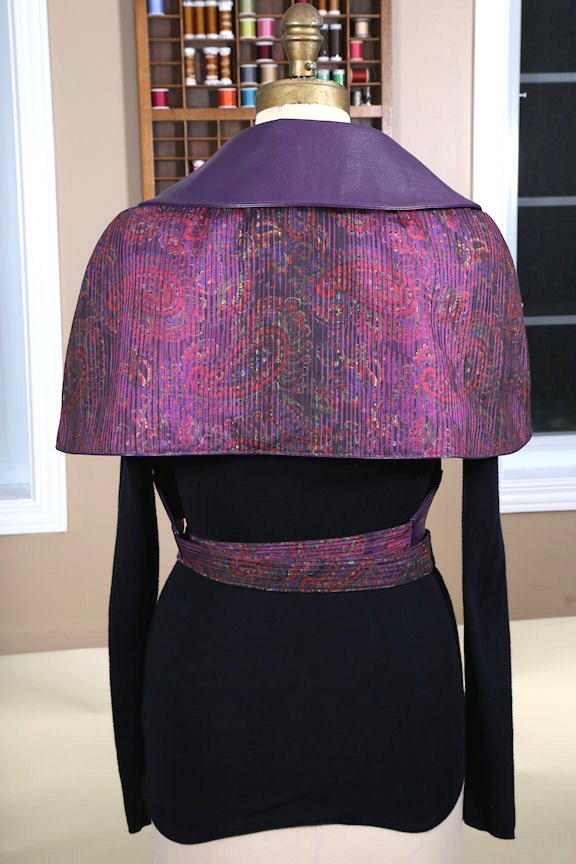
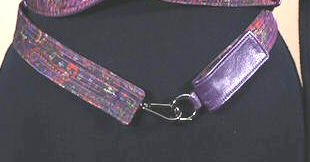
I love this little capelet made from Vogue 8965! It can be worn over a T-shirt, sweater or coat. I made the garment so that it is fully reversible.
Rather than using a rayon Bemberg lining, which would have allowed the leather capelet to slide around too much, I chose a beautiful cotton blend shirting. The cotton will stick to any garment underneath it, holding the capelet in place.
I used three lambskins totalling 26 square feet. If I had chosen to do the view without the collar I would have been able to cut the capelet from two skins. I used all bias knit interfacing in the front band, tie ends and collar. I designed a closure using a metal clip and split ring.
I followed the pattern instructions, which suggested a double stitched seam for the shoulder/side seams. Trimmimg the leather close to the second row of stitching created a nice smooth curved seam.
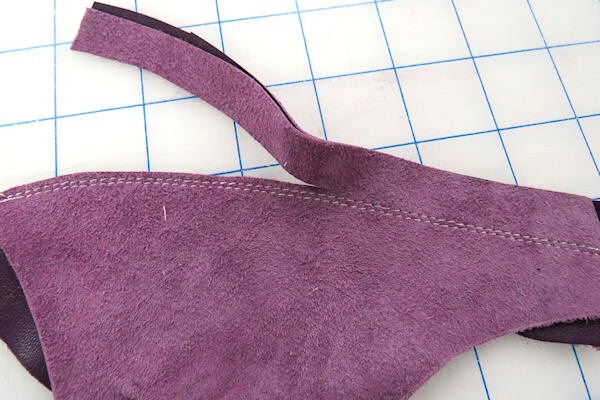
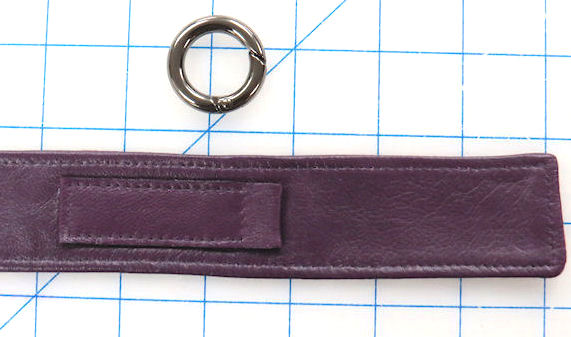
To make the belt closure, cut a length of leather the width of the metal finding found on the buckle. Apply rubber cement to the wrong side of the leather and let dry a few minutes until it is tacky. Thread the strip of leather through the buckle and fold the strip in half. Cut the strip to the desired length. My strip has a finished length of 2 1/2".
Use a piece of double sided tape to hold the leather buckle to the belt end. Topstitch around the strip to sew the two together.
Leather folded over and secured with rubber cement
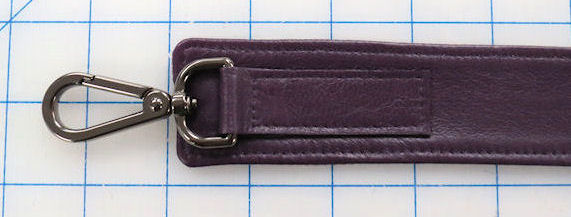
Sew the prepared buckle to the tie end
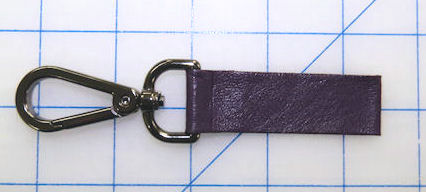
Split ring can be attached after the strip of leather is sewn to the other tie end
Make another strip for the ring end of the closure. The split ring can be inserted after the strip has been sewn to the drawstring end. I added a snap to the back of the split ring tie end so that when it is worn on the lining side the tie end folds back and a bit of leather shows.
The body of the capelet and the tie are lined with shirting fabric. Lining the tie prevents it from sliding around when worn. I was able to line the body by sewing the edges of the leather and lining together and turning the garment right side out through the tie ends before they were pleated. I then pleated the ends and finished attaching the ties. The garment was completely sewn on the machine with no hand sewing.

Finished buckle closure/tie end
Leather side
Finished buckle closure/tie end
Fabric side