
by Kathryn Brenne


The grain of leather generally runs from head to tail, but is not as precise as it is on fabric. If possible, try to layout major pieces with the grain roughly aligned along the lengthwise grain of the skin. This is not always possible, but don't fret, because in the garment industry a cutter will layout pattern pieces in every direction to make the best use of the skin. If possible, try to cut two fronts out of the same skin. Always use the best parts of your skins for the front or main pieces of your garment or accessory, the part that is most visible.
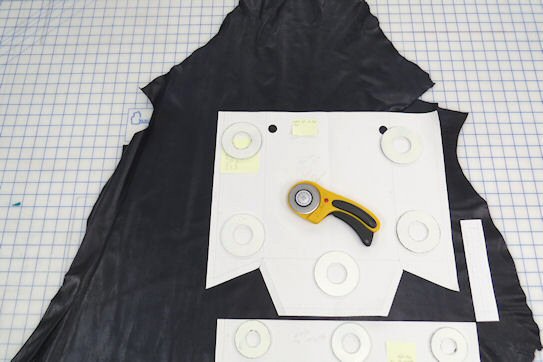
Leather layout with pattern aligned on the head to tail grain, held in place with weights and rotary cutter to cut out. Long piece left along the side to cut out the straps.
Lay out skins face up, flat on a cutting table. Mark any holes or blemishes you wish to avoid with a piece of chalk. Never cut skins as a double layer. Laying out your pattern pieces is similar to working a puzzle. Start with the larger, main pattern pieces first, and then fit the smaller pieces in around the edges.
Use a sharp rotary cutter to cut out leather, and small 1/16" clips to mark notches. Ends of darts and pocket placement can be marked with a very soft 6B lead pencil or chalk. Test the chalk wheel on a scrap first to make sure that the wheel does not permanently mark the leather.