by Kathryn Brenne
- Sewing Workshop
Bells & Whistles Shirt - Vogue 1248
Shirt and Skirt - Cutting Line Designs
The Director�s Cut - Design and Sew
#329 View A


FRONT PLACKET: For a softer shirt front try a double-folded front placket instead of interfacing.The extra layer of shirting fabric will act as a layer of interfacing. Shirts with a cut-on facing can be converted to a double folded placket as well. To convert the front of your shirt to a double fold placket follow these steps:
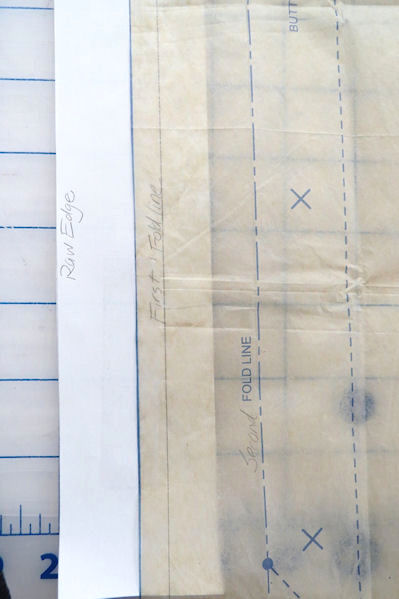
To determine how wide your placket should be measure the distance from the button placement to the fold line and double this amount.
Add the total amount to the outer edge of the fold line and mark a second fold line.
Add the total amount again to the outer edge of the new fold line. No seam allowance or edge finish is required.
Fold the placket in twice along the two fold lines. True the hem allowance, which should be at a 90 degree angle to the center front. With the placket folded, true the neck edge by cutting through all layers of the prepared front placket along the cutting line at the top of the placket (where it meets the neck).
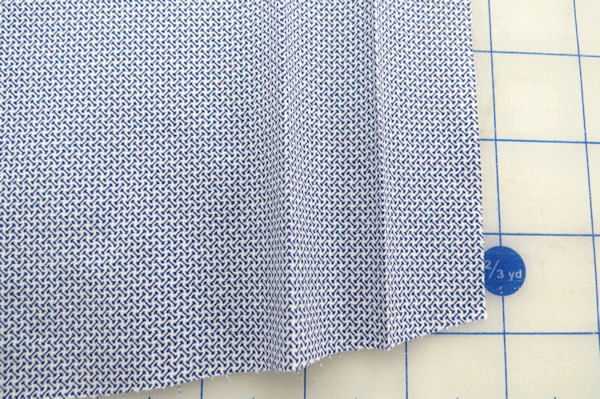
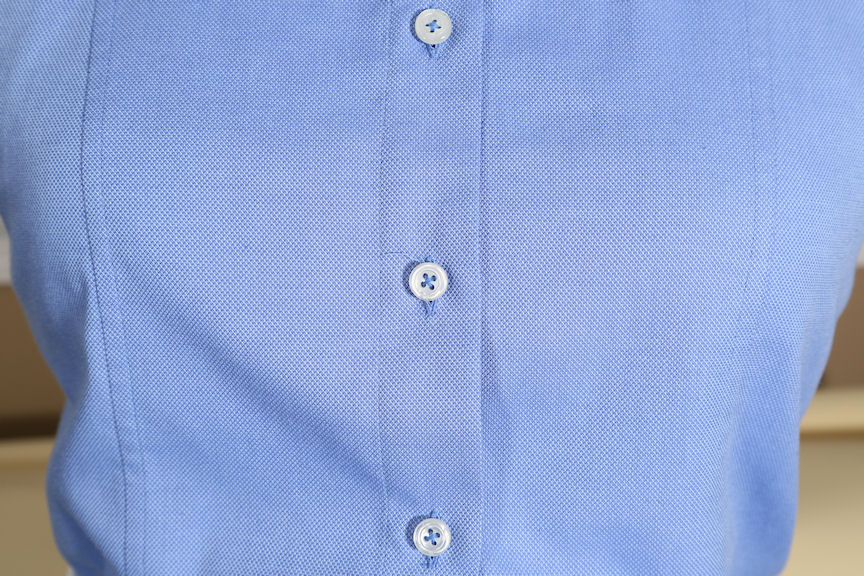
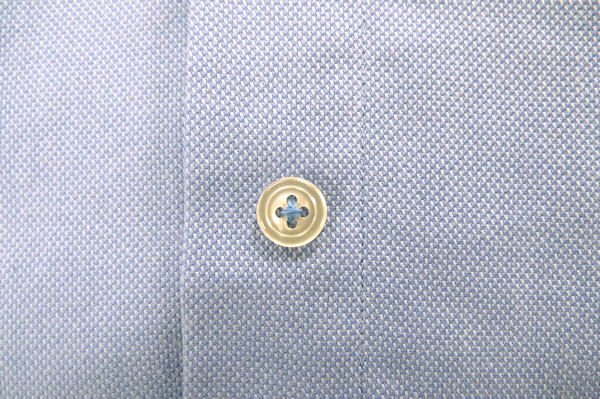
Double folded front placket with no interfacing
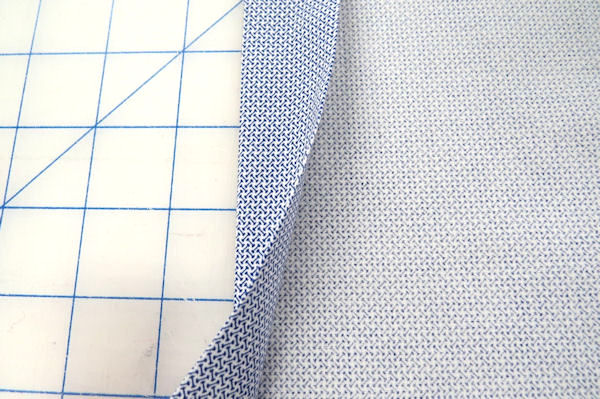
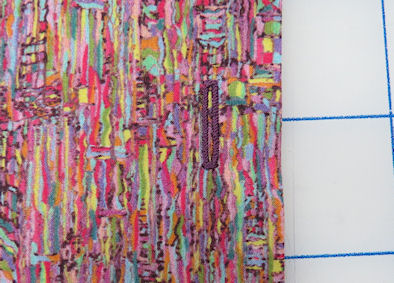
Wrong side of folded front placket
If your pattern has a separate placket pattern piece, as does the Bells and Whistles shirt, interface the upper placket with a light to medium weight sew in interfacing. As was done with collar and cuffs, apply a small amount of 505 spray to hold the interfacing to the placket before joining the upper and lower plackets together, trimming the interfacing and attaching the placket to the shirt.