
by Kathryn Brenne
- Sewing Workshop
Bells & Whistles Shirt - Vogue 1248
Shirt and Skirt - Cutting Line Designs
The Director�s Cut - Design and Sew
#329 View A


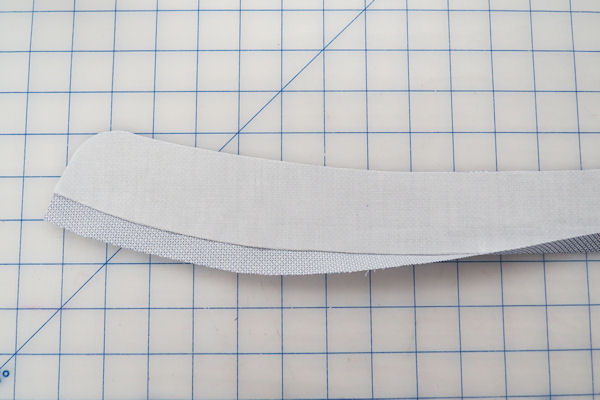
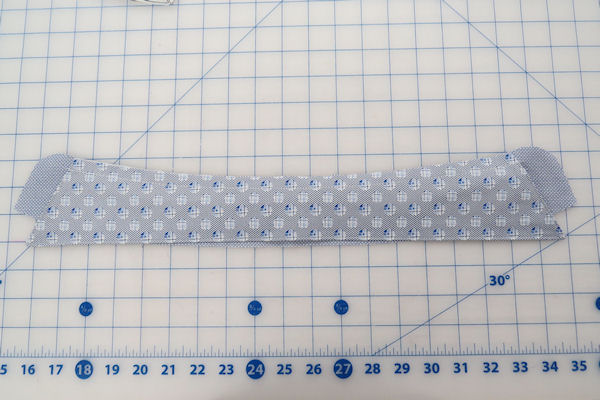
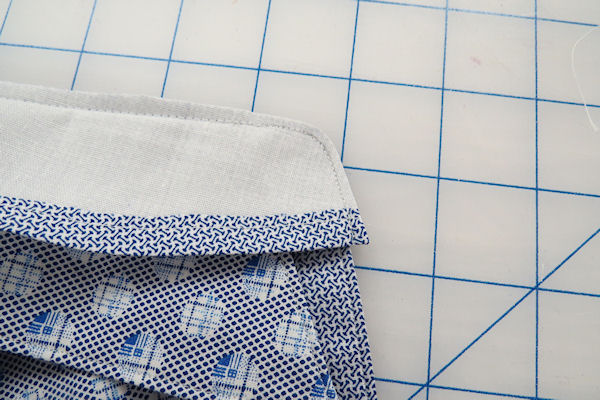
Trim the 5/8" seam allowance off of the lower edge of the collar stand interfacing. Spray with 505 temporary spray adhesive and position onto the wrong side of one stand. Press the stand neck edge seam allowance up using the edge of the interfacing as a guide.
Topstitch the lower edge of the stand at 1/4". Trim seam allowance close to stitching.
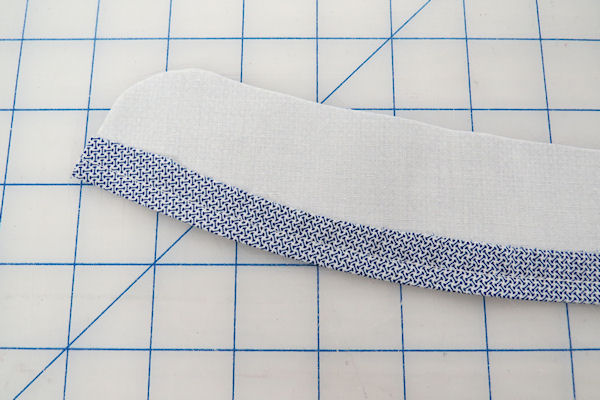
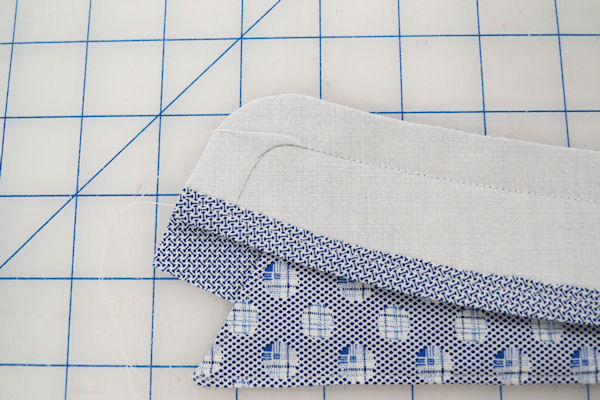
Stitch through all layers 1/4" from edge.
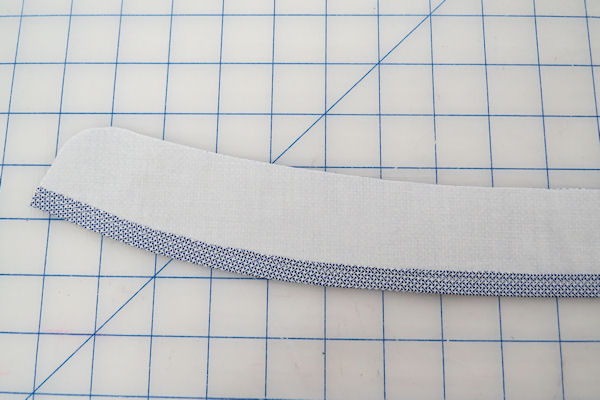
Trim close to stitching.
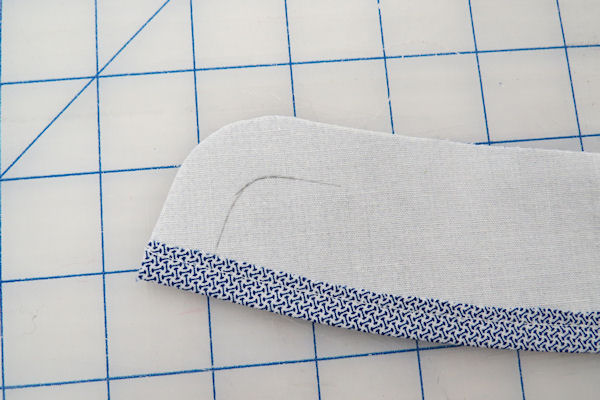
Mark the stitching line onto the interfacing of the stand with a fine pencil.
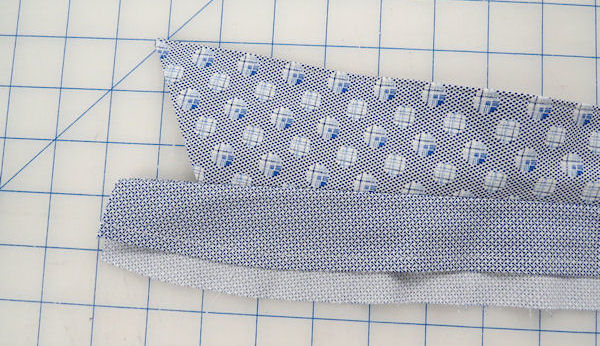
Baste prepared collar to uninterfaced collar stand
Pin the prepared collar to the uninterfaced stand. Machine baste. Pin the interfaced stand to the basted collar and stand.
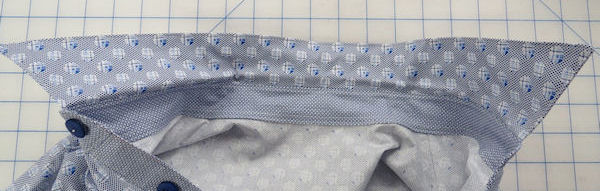
Sew the stand and collar together along the upper edge, leaving the curved front edges of the stand unstitched. Trim the seam allowance to a wide 1/8". Pull the collar out and press the stitched edge.
Pin the uninterfaced stand to the shirt neck edge. Stitch with a 5/8" seam allowance. Trim seam allowance to 1/4". Press seam allowance towards the stand.

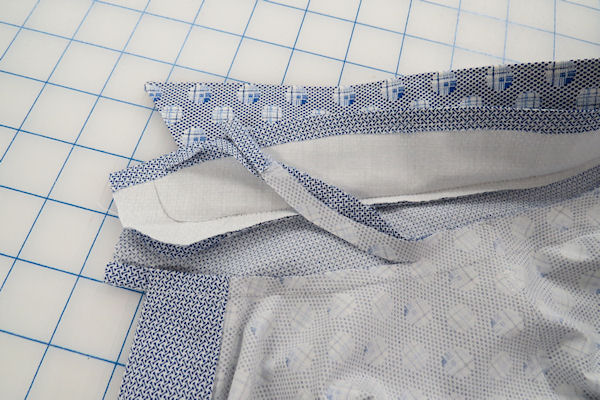
Finish stitching the front curves of the stand aligning stitching at center front with the edge of the front placket. Trim curved edges to 1/8". Turn right side out. Press.

Pin the folded edge of the interfaced stand over the stand seam allowance. Baste to hold. Edge stitch around the entire stand beginning at center back.

The inside of the stand will have two rows of stitching at the neck edge.
Finished collar and stand.